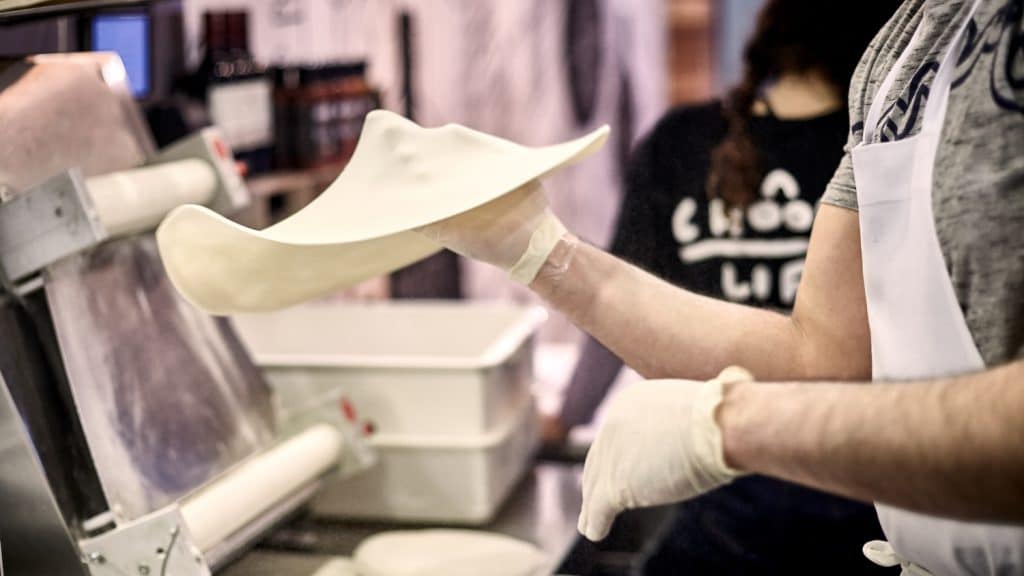
Wondering how to make pizza dough from scratch? The best pizza dough is fresh and hand-kneaded, and a good dough will take any homemade pizza to the next level. Pizza dough only requires four basic ingredients: flour, yeast, oil and water. Making dough is fun and creates a much tastier pizza than store-bought alternatives but perfecting your pizza base does take some practice!
Our experienced pizza chefs know everything there is to know about crafting the perfect pizza dough, and they have shared their expert tips with us so you can try it yourself!

Step One: Use the Right Flour
Flour is flour, right? Wrong! There are actually more types of flour than you think, and the regular plain flour sitting in your pantry may not be the best choice for creating that perfect pizza base. The ideal flour to use when making pizza dough is bread flour. It contains more protein which turns into gluten when kneaded, creating that delicious chewy bite that pizza lovers can’t get enough of.
However, there are other options when it comes to flour. If you’re looking for a healthier alternative, you can try a vegetable base using cauliflower, zucchini, chickpea, or even mushroom! For a low carb alternative, you can experiment with almond flour. And of course, our gluten free friends need an amazing GF pizza dough recipe as well!
Step Two: Activate Your Yeast
Cooking with yeast can seem intimidating the first time, but don’t worry – using these single-celled micro-organisms isn’t as tricky as it seems. Yeast is actually a fungi, and the scientific name for the kind of yeast used in breads and pizza dough is Saccharomyces Cerevisiae, or ‘sugar-eating fungus’.
Like the same suggests, the yeast in your pizza dough recipe ferments, or eats, the sugars and starches in the flour. This fermentation processes causes the dough to rise by trapping air bubbles inside it, creating that deliciously fluffy pizza base.
Yeast is a living organism and it needs warmth and moisture to survive. It’s important that you don’t just tip your dry yeast in and hope for the best. Instead, activate your yeast by mixing it with warm water. Your yeast mixture will start to foam up after a few minutes, so you know it’s ready to create that fluffy rise!
Step Three: Hand Knead Your Dough
Warm up your wrists, it’s kneading time! Kneading your dough is the most fun part of making pizza from scratch, but it does take a bit of practice. When you have combined your activated yeast with your flour and oil, it’s time to bring it all together. You can start this process with a flat bladed knife to mix the ingredients in the bowl, then turn it out onto a flat, floured surface (like a wooden board or your kitchen bench) and start kneading.
Many people will only knead their dough until it comes together into a consistent texture. However, it is best to knead for far longer than this. As you knead your pizza dough, you are actually changing the molecular structure of the mixture. The process causes the proteins that are found in gluten to form chains of amino acids, creating a matrix. Who knew pizza making was such a biology lesson?
Knead your dough until it is smooth and springy and doesn’t come apart if you gently stretch it. When this happens, you know you have a good, chewy base to work with.
Step Four: Leave the Dough Alone
By the time you have finished kneading your dough, your mouth is probably watering thinking about the amazing pizza you are going to create. But hold on – proofing your dough is an important step that shouldn’t be forgotten!
Proofing means putting your dough aside so that it can rise. The yeast in the dough continues to eat the sugars in the flour, creating more trapped gas bubbles. This means your dough will increase in size (more pizza!) and develop a light and airy texture.
Cover your dough and leave it in a warm place. Warmth helps the yeast to work and so your dough will rise more quickly. Half an hour is normally fine to let your dough proof, but leaving it longer is a good idea too. Our tip? Make your dough well in advance so that you’re not waiting around hungry!
Step Five: Stretch it Out
Finally, it’s time to create your pizza base! Some people roll their pizza into a round base, but stretching is the more effective and authentic way. Stretching keeps the gluten working, so your base will be nice and chewy, plus it prevents any of the air being pushed out of the base which can happen with a rolling pin.
Don’t worry if you can’t get a perfect round shape when stretching your pizza. A funny shaped pizza tastes just as delicious as a perfectly round one!


